Showing posts with label familly. Show all posts

Wednesday, March 26, 2014

Family Summer Activities and Goals

So it's summer time. Whew! So thankful for the ubiquitous S word. We survived exam weeks. Yay!

That's a week of review for my little Sam and 2 1/2 weeks for our Ate Sophie. Yep, it was that time of the year to be reunited with fractions, phases of the moon, etc. and dozens of written exercises we had to make for the kids. 

I met one teacher/speaker in a K12 seminar I attended and when she found out I have one child in progressive and one in traditional school, she asked: 'How do you manage teaching both?' (we don't hire tutor). I don't know how to answer. We (husband and I) just try to manage, I guess. I try to switch teaching technique based more on the kid’s personality than their school setting. One child embraces sit down tutoring while the with the other it has to be very casual. For both kids, though, I always stay in their zone of interest whenever I need to make an example - dinosaurs, meteor showers, all about the earth for our little boy while it's about all the kikay and princess stuff for our little Ate. 

Anyway, summer is up but that doesn't mean mommies get to rest, noh? This year, we decided to hold off the summer classes and want our little kiddos to enjoy the 2-month break.

That doesn't mean, though, that they'll be lounging on the sofa for hours and watching TV or playing on the tablet. No can do so I made a schedule of activities and explained both to the kids and to the helpers on how to manage the activities.

8:00 am - breakfast time
9:00 am - outside play
10:00 am - art time/ library or reading time
12:00 nn - lunch
1:00 pm -  rest/nap time/ TV off
4:00 pm - snack
4:30 pm - outside play or art time with friends
5:30 pm - wash up and get ready for dinner.
7:00 pm - TV time

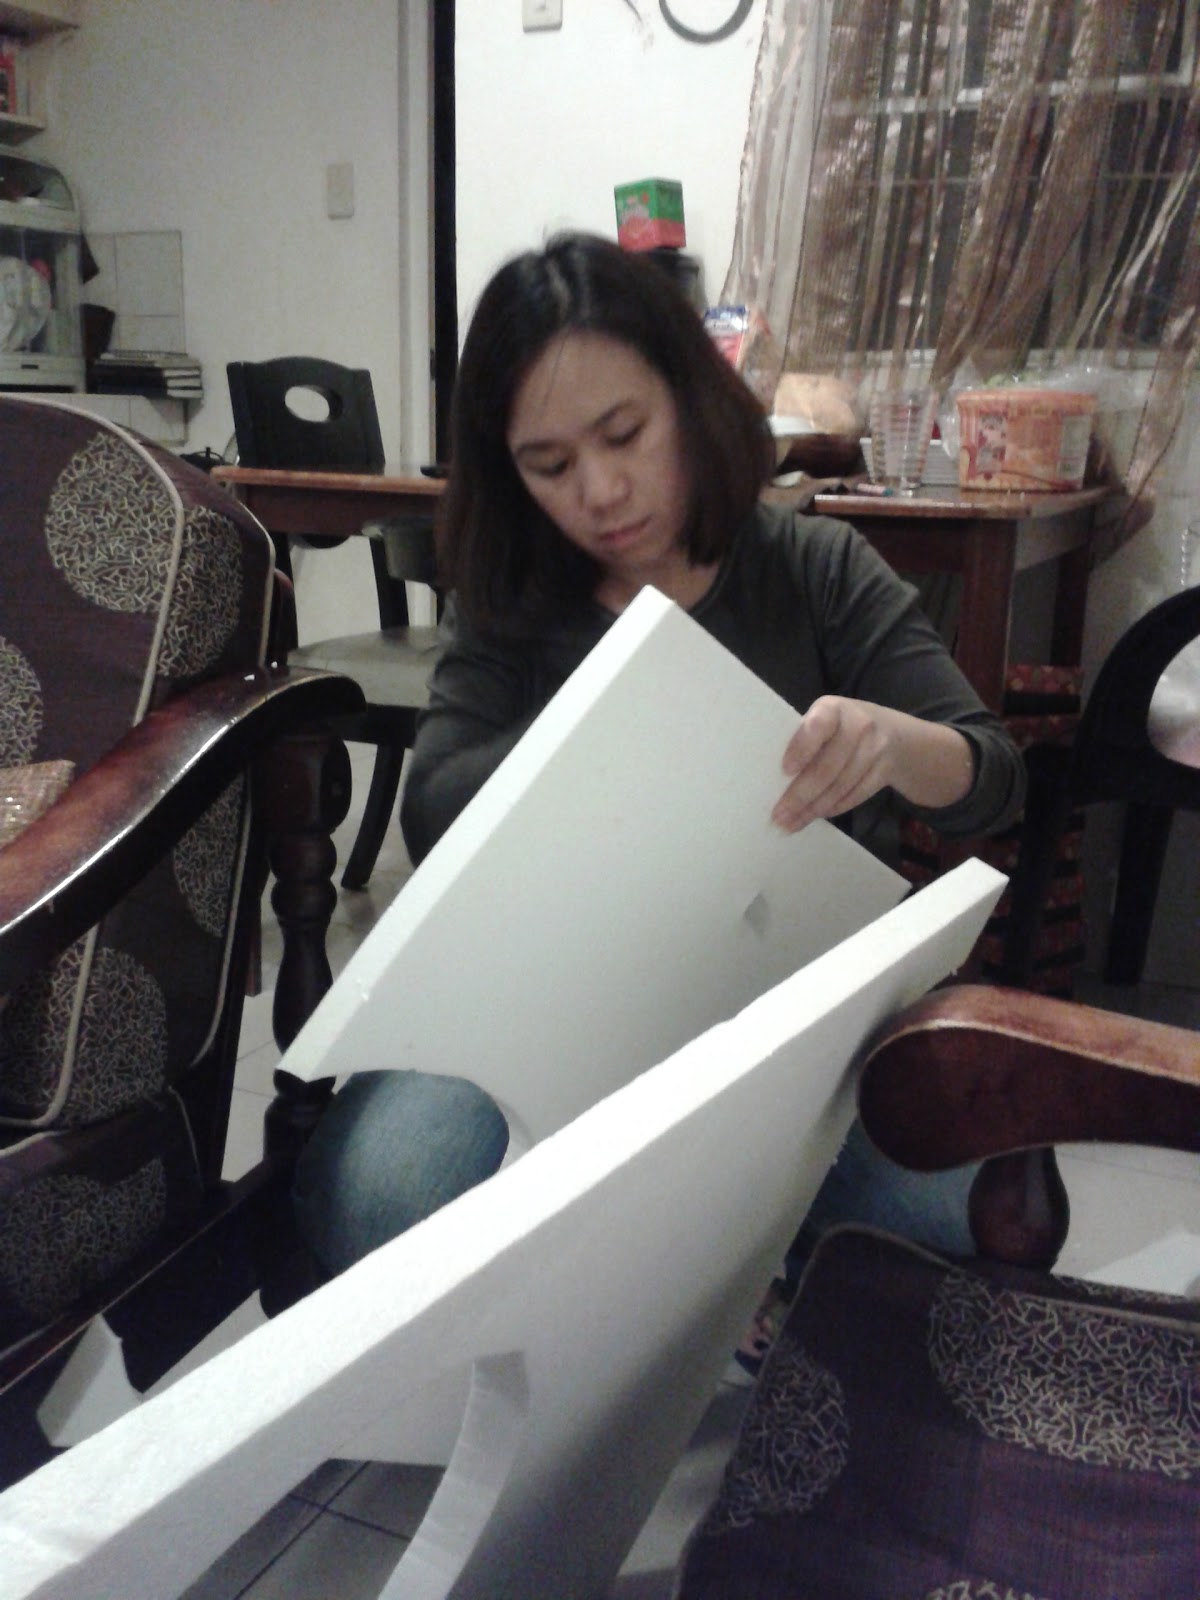
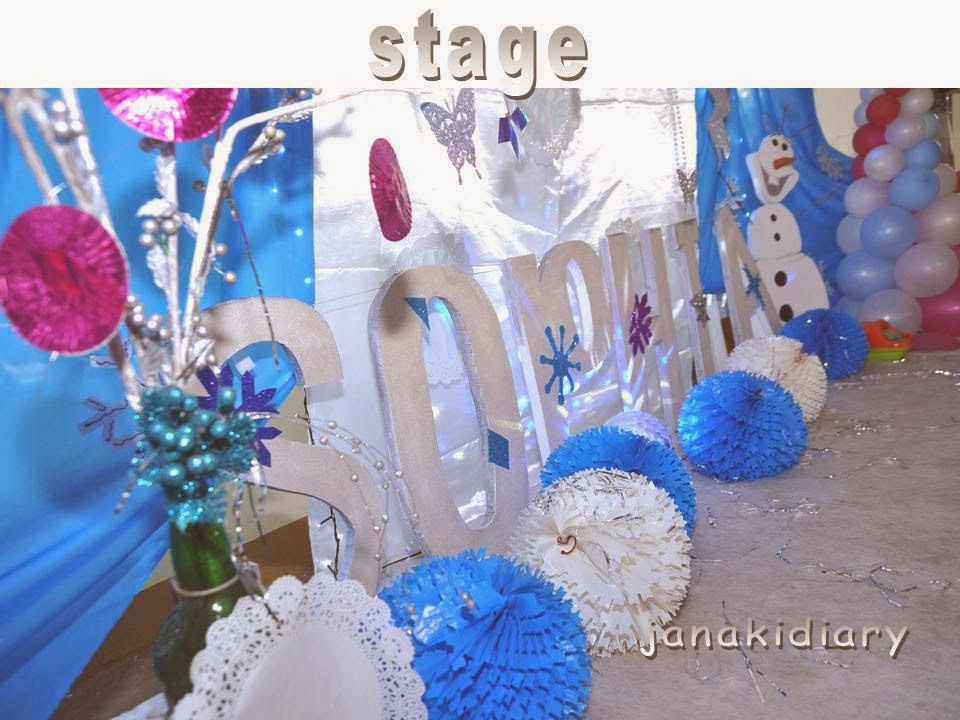
They usually wait up until 830pm for mommy and daddy to arrive from work. That's when we get our family bonding time. We asked them how their day went and what art project they did. Last night we played 'concert stage' after dinner :)

To the helpers only, I tell them that the schedules does not have to be followed to the letter (I don't want to put pressure on the kids, it's summer after all) but it will guide them on the activities for the day. Like this morning, Sam wanted to do art time already at 8:30 am. His OC Ate reminded him that art time is at 10 am pa. I just love these kids! :) And surprisingly, they really nap after lunch which they don't do anymore with their age.

Now I'm thinking how to tweak the activities so it won't get boring. Maybe dance performance next week?

Art time is basically free hand art projects. They can use whatever medium them want - crayons, watercolor, oil pastel, etc. They learned new technique in shading during their recent art class in Global Art in Salcedo Village. Their Mama Joy ( my sister) gave them this gift for Christmas. This is a good time to enhance this skill.


Of course, the big ones has their activities as well. Husby and I have been working on a healthier body since last month. Mornings are better now that we don't have to rush the kids to school (even with 2 helpers, we're still very hands on) and that only means we have time for workout. Yay!

We've also been 'eating clean' the past months with more salad and fruits, less rice or carbs and fatty food. I, for one, ordered a weekly healthy diet meal from a colleague at work.

This is a sample of my lunch - grilled salmon with mango and kiwi served with brown rice. Tastes so good at healthy pa. Plus the meal plan includes calories per meal, so if you're big on calorie counting like me, this makes it convenient.


Only P140 per meal but if you order lunch and dinner each meal is on P120/meal. Another thing I love about this meal plan is that it's so much more cheaper than my lunch before which can amount to P200 to P300 per dine out. They deliver within the Metro.

In my post here, I shared our Biggest Loser game at work. We already awarded the biggest loser last December and mind you, I won third place. Haha! The contender with least pounds to lose and the oldest among the contender won third place pa. I can't believe it either.

Now, I'm just more focused on toning the muscles especially the core since I already lost more than 10 lbs. The goal really is not to be paper thin but as toned and healthy as any 38-year old can achieve. Yep, that's how old I am since last week.

Monday, March 17, 2014

Recipe Share: Roast Pork Pastries

I have to confess, I’m a sucker for recipe out of a box. Literally, that is, recipes printed on a box (or can) of whatever we bought at the store – flour, cornstarch, milk, etc.

Why not?

Over the years since I started cooking and baking, these recipes were proven easy to follow and really delicious. I found my best Thai lumpia recipe from a free booklet I got when I bought an oyster sauce. My embutido and lumpiang shanghai was from a can of tomato sauce.

A few weeks ago, I chanced upon a recipe from a box of cornstarch (Golden Harvest) I bought to make homemade dough for the kids. It’s a pastry dough recipe with only 3 to 4 ingredients tops – flour, water, shortening and egg. You can fill it up with whatever you like. I divided the dough in batches for hotdog, pork belly and cheese fillings. 

Roast Pork Pastry: 

Water Shortening Dough
300g. (2/3 lbs.) Flour
150g. (1/3 lbs) water
75g. (3 2/3 oz.) lard or shortening

Flaky Dough
225g. (1/2 lb) flour
112g. (1/4 lb) Lard or shortening

the flaky dough, a little more yellow than the water shortening dough
  1. Mix and knead the 2 doughs separately. Divide each into 25 equally sized portions. Wrap one portion of flaky dough inside each piece of water shortening dough.

2. Roll out each piece of dough until thin and fold into thirds. Repeat this process 2 more times. Roll thin.

Filling:
I didn’t follow the recipe on the box of Golden Harvest cornstarch. I instead used my own pork belly recipe.

Pulled Pork Belly:
500 g. pork belly
1 medium potato, peeled and cubed
¼ cup cooked green peas (optional)
2 tbsp. soy sauce
2 tbsp. oyster sauce
1 ½ tbsp. brown sugar
1 tsp. fish sauce
2 bay leaves, crushed
whole peppercorns
pinch of salt
½ cup water
zest of lemon or calamansi (optional)
chopped basil or coriander

  1. Mix all the ingredients together in a pot except for potatoes, peas and chopped basil/coriander. Place the pork belly in the middle of the pot and slow cook until tender and meat starts to fall apart. You may need to add more water in the middle of cooking if the liquid starts to dry.
  2. Add the vegetables – add potatoes once pork is halfway done and green peas a minute before you turn off the fire.
  3. Once cooked, transfer on a plate, add chopped basil and let cool. Shred the pork into strips with fork once it’s cool enough.
  4. Wrap some filling in each piece of dough and lightly flatten. Brush some lightly beaten egg yolk on the top of each pastry.
  5. Bake at 200 degrees C (390 degrees F) or until golden brown.
In the oven they go. I placed them in a muffin pan because I'm not sure if they'll hold together since it was my first time to try this recipe. Thankfully, they did :)
The finish product. I honestly didn't expect what would come out of a pastry recipe without egg and all the other ingredients I normally use. Now I know - pastry with a little crunch; texture somewhere in between a hopia and an empanada. 

I'm definitely doing this recipe again, probably put more filling as I now know that the elasticity of the dough can hold the filling in place. Plus the kids had fun doing their own pastry dough. 


Friday, February 28, 2014

DIY Décor for a Disney Frozen Inspired Party

During and after Sophie's party, I got a lot of questions on how I did some of our DIY party decors. Well, it's not just me. It was a collaboration of family efforts. Some were done by Sophie and Sam, some were done by my sister and I.

Since Frozen or the song Let It Go is still much a rave until now (have you seen Christina Bianco's diva mash up version, so hilarious! clap clap), I thought I'd share some of our DIYs with you. 

OLAF
Olaf was one of my favorite DIY project. Makes me remember the Thomas and Train box I did for Sam. 
I originally wanted to do a 3D Olaf but I couldn't find a polystyrene ball big enough to match the dimension and height I have in mind. I also thought that this will be my first time to work with polystyrene so I settled for a 2D version. That’s trying to meet the expections.


First off, I got a polystyrene board big enough for the design to 1) have enough elbow room to draw and 2) avoid having to patch pieces and save time. I bought the boards at National bookstore. Olaf’s height here was in reference to my height. I imagined, if this standee came to life, how big should he be? Yeah, you need a lot of imagination to do this. 

Next, draw the pattern. The pattern is fairly easy because the circles of his body don't have to be perfect. I was holding out a photo of him for visual reference while drawing the pattern.I imagined the upper body as siopao and the lower body as a rock with flat base or a dough.


Time to cut! This is I guess one of the critical parts (the other one is painting the face). Use a cutter and if you have 2 sizes of cutters (one small and one big), the better. The big cutter will help you slice off the chunky sides and get you as close to the pattern. The small cutter will help cut through the curves and crevices.

Be careful here to avoid getting cuts. I wasn't so by the time I finished I got 3 or 4 mini cuts. I did this project for 2 nights after work and just wanted to finish to get some sleep.

I asked our helpers to paint the pieces with white acrylic paint (which I bought at SM) to give it a clean finish. Two to three coats to cover the texture of polystyrene. My helpers were so excited to do arts and crafts as well! Once dry, we painted it again with white glitter poster color and sprinkled some more with white glitter while still wet. 

Now for the face. Visual reference is important to get as much details into the pattern. This photo was my reference - eyes up, the famous wide smile of Olaf.


I used cream poster paint to shape the eyes (black will make him look like a rockstar) and black poster paint to make the eyelids and iris. For the mouth I painted the inside with silver/gray paint (white poster paint mixed with a little black) and the corner of his mouth a lighter gray. When you look into the picture reference, look closely into the shadows and other details (ex. Olaf's shadow on his teeth).

I used poster color because I'm very comfortable with this medium and in case you make a mistake, it's easy to wipe it off with wet clean cloth and touch up with white paint for a clean start again.

Olaf minus the 'eyelid'

Olaf with eyelids and nose. Can you see the blue highlight to accent his cheeky smile? I used crayon on that.
For the buttons on his body, I painted it with black poster paint and silver streaks as highlight. 


Once paint is dry, I assembled the body parts and head using barbeque sticks cut into two and glue. 


The nose was made of real carrot. I emptied the inside of the fresh carrot to make it lightweight and stuck it into the polystyrene board using bbq sticks and glue again. 
For the hair and arms, I asked Sophie and her yaya to search the neighborhood for twigs. 

So, that's how Olaf was made. I let him stand on a polystyrene board covered with epsom salt and glue for a snowy look. 

A little side story, I did Olaf about 5 days before the party and the morning of Sophie's birthday we saw that the carrot became dry and wrinkly. I had to change the carrot nose the morning of the party which I really didn't mind. At least I got to practice how to do the nose days ahead. 


Olaf on stage, making the kids happy to see him. We also did the same procedure of cut and paint on the standee letters. Really, this project saved me thousand and thousand of moolah.


Table Centerpiece - Snowman and Frosted bottles

materials needed for frosted bottle:
empty wine bottles or maison bottles, washed and wiped dry
epsom salt. You can find a bag at a grocery store under beauty and health section since this is usually used as a body scrub. I got one at Landmark Trinoma.
1:2 ratio of glue and water
paint brush

What to do:
Brush the bottle with glue mixture making sure all parts you want frosted is covered. Roll the bottle with wet glue on espom salt and leave to dry completely. That's it :)


We frosted almost everything! It was so easy and fun to do :)

materials needed for snowman:
round polystyrene balls, 2 different shapes
1:2 ratio of glue and water
wide and deep container for the glue mixture
paint brush
white and silver glitters. We also used colored sand and found it better to use on the bottom ball                   because it adds weight and makes the decor stable. It's a little hard to manipulate, though, when           wet.
cupcake liners for the hat (source: Chocolate Lover)
black craft paper for the eyes and mouth
toothpick to connect the head to the body
mini cake silver base for the base (source: Chocolate Lover)
double adhesive tapes

What to Do:
Same as the frosted bottle - brush glue mixture around the styro balls making sure all areas are covered.
Roll on a bed of glitters or colored sand. Let dry.
Once dry, connect the small and big ball using a toothpick and connect the body to the silver base with double adhesive tape. Decorate.


Happy DIY!

Friday, February 7, 2014

Sophie @ 7: Her Disney Frozen Themed Birthday Party

Finally! Photos of the party for our little princess who turned 7 last January 16. I tell you, even at this point I still catch myself in awe that I'm a mom of a seven-year old. It's pretty amazing and surreal. Where did the time go?

A background story: even before we decided to have a themed party, we were torn between celebrating her birthday quietly and just the family; maybe a trip to HK Disneyland instead or a birthday bash with all the hullabaloo. The celebrant chose party so we pulled up our sleeves and started working on it. It's a celebration of life and with God's providence, the little girl got her wish.

Here are (a lot) of the photos of the party. We loved how everything turned out - the party details to the compliments we got from guests. Hope you too get inspiration and ideas for your next party as some of the details here were do-it-yourself or DIY.

I got totally inspired by DIY party ideas here and here. I really wanted that kind of party look. Nothing fancy and grand, just crafty, creative and fun.

Except for the balloons, our party decors and the candy buffet were product of months of research on how to come up with a winter themed party without breaking the bank. Thank you to all family members and friends who helped one way or another. It's such a bliss to know Sophie is so loved that way.

an old Xmas decor turned stage decor
Our family pictorial before things got busy. Love these photos to bits. Thanks 5th Door Productions for capturing the special moments.


Sophie's gown made by none other than her lola (my Mom). The only thing I bought for her ensemble was her crown. We also bought Sam's blue polo and a new pair of shoes to go with the matching blue outfits of the fam bam. I'm wearing a dress from H&M and belt from Landmark.


Cake and cupcakes by cakesandcupcakes35.blogspot.com
The toppers I ordered at Shopaholic.com. It was so hard looking for Frozen items in stores after the movie hit the local cinemas, everything was sold out so I had to find a local online store. I didn't dare order from abroad because I was worried the purchase will not make it on time. Remember, we had to change theme at the last minute? We didn't have that much time in our hands.

The cake and cupcakes with Disney's Frozen gang. Isn't Olaf adorbs? :)

icicles made from styropore, glue and epsom salt. Handcrafted by husby :)


The party started off with the introduction of the whole fam and a touching prayer by my Mom. 


Our host Evelyn Peralta started the ball rolling with games for everyone. She also did magic, ventriloquism and balloon twisting for us. So much talent in one bubbly persona. I love her more because she was generous with her ideas, so thoughtful and kind. We met each other once before the party and just chatted for hours. 


See the happy faces especially that of the celebrant? Priceless moments captured. Our goal achieved. 

Throughout the preparation, the celebrant was involved in the planning and some of the execution of details. It's important for us that the party was Sophie-approved. We originally booked a different entertainment for the party but she wanted 'lots of magic and games' so there you go.


Prizes and loots for the quick and the bibo :) Bought most of it at National Bookstore while some from Landmark and Divisoria.

Even the adults got too competitive during the games! I swear I was laughing 'til my jaw ached that day :)


Of course, the girls bagged the prizes. Sorry boys!

Sumptuous food and flowing drinks by Verleo. Smiling faces c/o guests. The head waiter said they gave away lots of calling cards so I'm thinking that equates to better business for them.

I totally recommend Verleo - very good customer service, follows through and most importantly everybody loved the food! Even the non-pork eater ate the pot roast. It was that good haha!

And don't you just love the setup? It captured Elsa and Anna's colors. Yes, even the table linens had to be chosen by the celebrant.


The giveaways were personalized stickers from Booths Republic. Kids and adults alike enjoyed this :)


We also invited Nestle Ice Cream to the party! What's a birthday without ice cream anyway so we got drumsticks, twin popsies, pinipig crunch and more for everyone. 

Here's ate Sophie being a stage sister to his brother during a game while my dashing Sam busied himself with ice cream. 


Here comes our DIY projects: the stage, candy buffet and more.

The stage made up of old Christmas decors, icicles, beads, sequins and yards of blue fabric from Divisoria. My go to place is always Michelle's in Divisoria mall.The cream silk was from my Mom's fabric collection.

We also bought packs of cupcake liners from Chocolate Lover which we turned into garlands, doilies. Polystyrene for the the name and Olaf and craft paper from National Bookstore. I lost count of how many times I went back to the bookstore to buy paint, paper, glue, etc.

My sister and I separately did snowflakes and other decors and incorporated everything during setup time.

The huge letters that spelt SOPHIA and snowman Olaf was made by yours truly with some paint job help from the celebrant herself and our helpers. They're far from perfect but I got lots of compliment from making Olaf so look alike (he had real carrot nose by the way). Some posed for a photo beside our adorable snowman :0 All but a labor of love.

We covered the stage with foam, the kind that you use to make quilts.


stage base made of silver twigs with cupcake liner garlands, silver Xmas decors, oversized J&B bottle used as vase, pompons, silver confetti and more !
To complete the look, JDF Lights and Multimedia provided the lights. Found this supplier through Sulit. Got the one with the most affordable price and positive feedback.

We even got snow! Yay! :)


I know with Frozen being a hit worldwide, it won't be long before parties are gonna be themed after the movie. Snow machines will definitely give bubble machines a run for their money. 

Our candy buffet- took us weeks of finding the perfect treats for the theme and look that we wanted. I think my sister and I stressed more over this than anything else haha!

I bought white picture frames from SM and placed Sophie's photo in one and a cutout glittered S in another. 


everything looked frosted and cool!


We got them labeled just for fun. Free printable here. Candies from Chocolate Lover and various grocery stores our mileage can reach :) The mallow pops and choco almond tops as well as the jelly cups were done by the family.

Our DIY centerpiece addition. Various frosted glass and glittered snowman made by Sophie and family.

photo by Bangs Mapanoo
We had last minute addition to add more personal touch to the party: craft table (because our celebrant is big on arts) where you can make your own snowflakes, choose your coloring pages or sticker tattoo and a photo gallery of the Sophie's 7 years, from her first room in when she was born until she turned 7. The photos hang on our Christmas tree brought to the venue.


The (not so) little princess blowing her cake. Our pretty Sophie, you will always be dad and mom's baby girl. Don't grow so fast please.

Happy birthday little princess! Daddy, Sam and I love you so much. Always stay beautiful inside and out.


Party suppliers:
Venue: Mapayapa Village I clubhouse, Quezon City
Food: Verleo -  http://www.verleo.com/
Cake and cupcakes: Theresa of: http://cakesandcupcakes35.blogspot.com/
Ice Cream: Nestle -  http://icecreamparty.ph/
Giveaways: Stickers from Booths Republic - boothsrepublic@yahoo.com
Photo and Video: 5th Door Productions -  http://www.5thdoorproductions.com/
Visit their FB page : https://www.facebook.com/5thdoorproductions
Everything else was a labor of love. 

Monday, January 27, 2014

Disney Frozen Theme Party: Our Behind the Scene Story

My daughter celebrated her 7th birthday last Saturday, January 25 and the party was a huge hit with guests! The food, the decor, the entertainment were all being raved about even after the party. Most importantly, the celebrant herself gleamed with happiness! :)
It was really overwhelming to receive positive comments and praises because this celebration was truly a labor of love. 

Just a background story. The original theme was Under the Sea, my daughter being such a fan of the adventurous Ariel the mermaid. So here's the inspiration board I created for the suppliers as early as November last year. The concept actually got across the suppliers already. 


Aren't they the daintiest? Can I just say how much I appreciate Google and Pinterest on occasion like this? It's got all the inspiration and guide you need to conceptualize a creative party.

Anyway, on with the story. Late November, my kids found out about Disney's Frozen. We were able to watch it a few weeks after it's opening night but even before that my daughter already memorized Let It Go, thanks to YouTube. When we finally got to watch it on big screen I remember her whispering, 'There it is Mommy, I get to see it without stopping (she meant buffering :)).

So, the Under The Sea theme was totally scrapped. After the movie, she wants a Disney Frozen theme with matching snow. Ayayay!

source
First on the to-do list was find inspiration for this party theme so I went back to Google and Pinterest for concepts on winter theme parties. You see, the idea is it has to be winter-y but not Christmas-y and the colors of Anna, Elsa's sister, has to be incorporated. 
Once I have the new inspiration board, I emailed and contacted all suppliers to tell them of changes. It was almost Christmas then and some suppliers are on holiday mode or already out on vacation but they responded promptly to my emails and texts. 
I'm so glad I stuck with suppliers who are easy to deal with because we have to go through colors of the table cloth and napkins, the flowers, cake and cupcakes design and all the itsy bitsy details al lover again. 
I'm a working mom and only have weekends and after work to take care of the preps so I need suppliers who immediately respond and follow through. 

source

More of our inspiration board. I wanted the stage to be a little different than what we usually see in birthdays and I'm so in love with all the decors at Kara's Party Ideas. Of course, eventhing has to sparkle. 
source
source
source
Disney's Frozen is new and already a big hit with kids and adults alike. Being fairly new, it was hard to find supplies locally that goes with the theme. After several days of checking online, I finally found one onlin shop that sells a few Frozen stuff. For the rest of decor, we decided to DIY so except for the balloons, everything was labor of love from family and friends from the candy buffet to the icicles on the stage. Her gown was, of course, made by her very talented lola Ninfa (my mom).

I'll share more of the pics of the actual party next time. Have a wonderful Monday everyone.

Related Posts with Thumbnails