
During and after Sophie's party, I got a lot of questions on how I did some of our DIY party decors. Well, it's not just me. It was a collaboration of family efforts. Some were done by Sophie and Sam, some were done by my sister and I.
Since Frozen or the song Let It Go is still much a rave until now (have you seen Christina Bianco's diva mash up version, so hilarious! clap clap), I thought I'd share some of our DIYs with you.
OLAF
Olaf was one of my favorite DIY project. Makes me remember the Thomas and Train box I did for Sam.
I originally wanted to do a 3D Olaf but I couldn't find a
polystyrene ball big enough to match the dimension and height I have in mind. I
also thought that this will be my first time to work with polystyrene so I
settled for a 2D version. That’s trying to meet the expections.
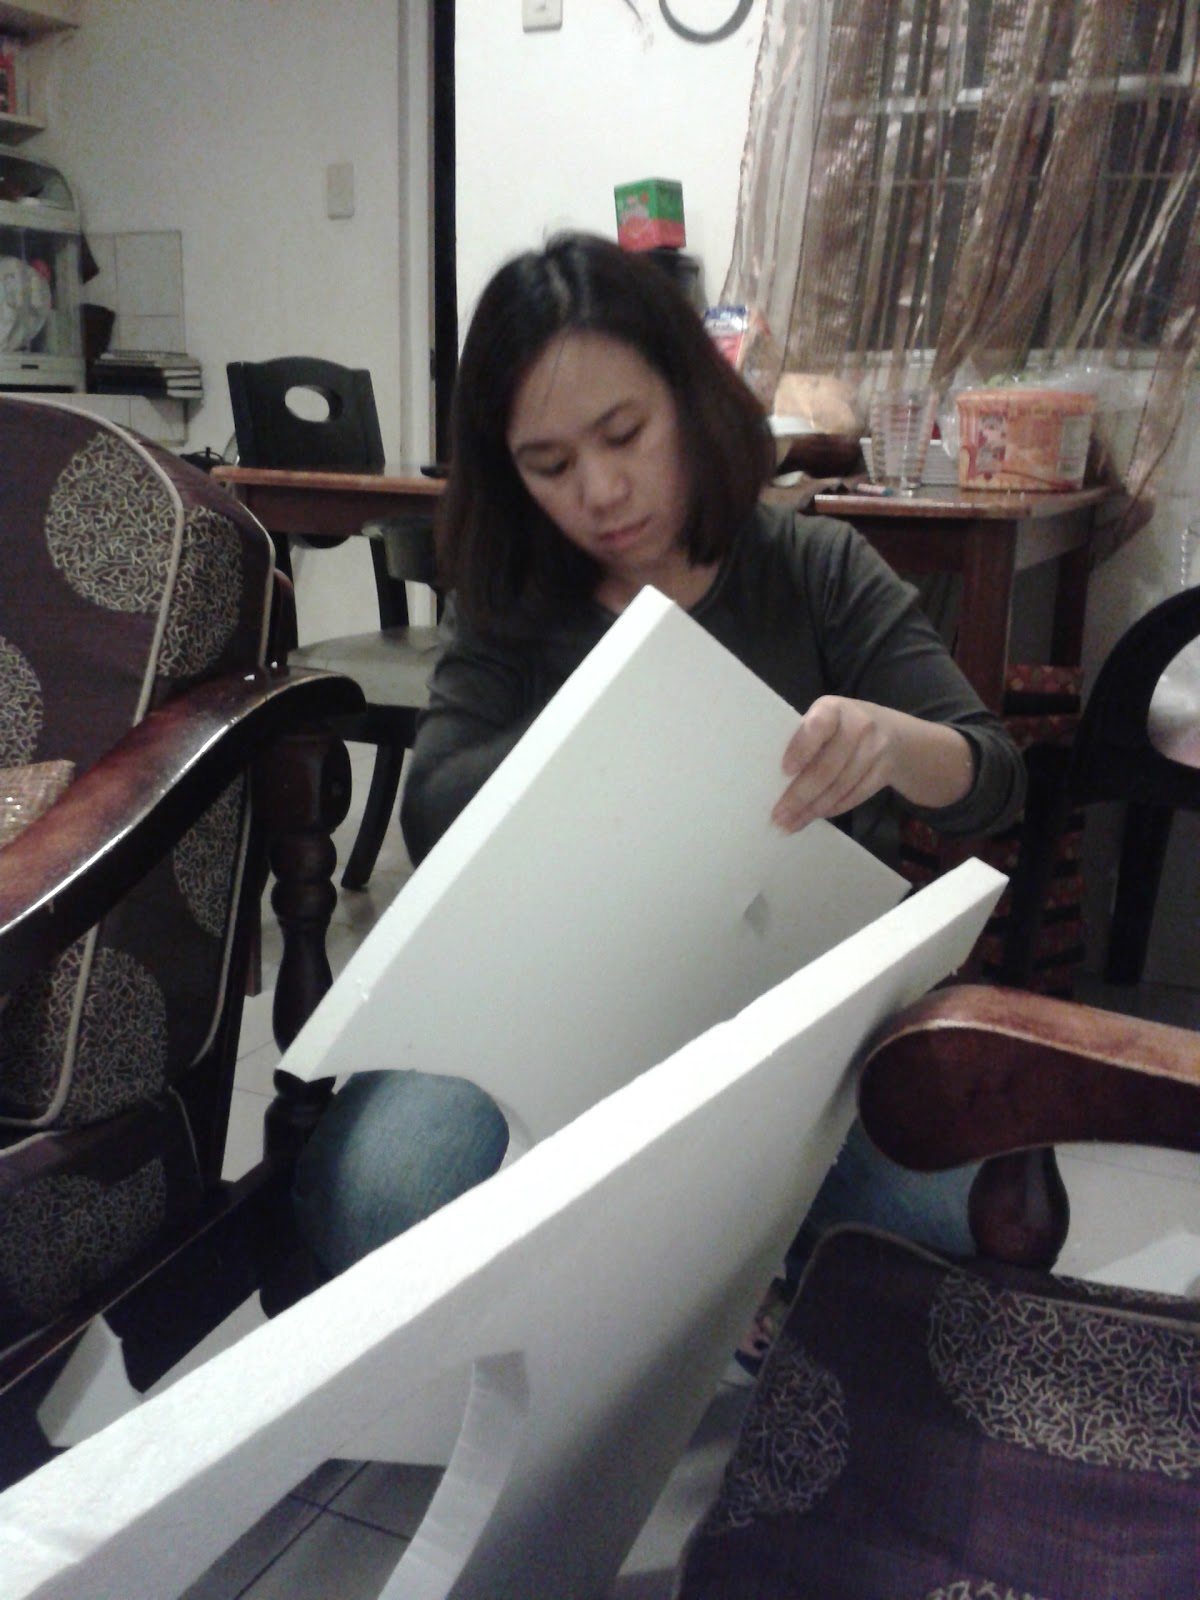
First off, I got a polystyrene board big enough for the design to
1) have enough elbow room to draw and 2) avoid having to patch pieces and save time. I bought the boards at National bookstore. Olaf’s height here was in reference to my height. I
imagined, if this standee came to life, how big should he be? Yeah, you
need a lot of imagination to do this.
Next, draw the pattern. The pattern is fairly easy because the
circles of his body don't have to be perfect. I was holding out a photo of him for visual reference while drawing the pattern.I imagined the upper body as siopao and the lower body as a rock with flat base or a dough.

Time to cut! This is I guess one of the critical parts (the
other one is painting the face). Use a cutter and if you have 2 sizes of cutters (one small and one big), the better. The big cutter will help you slice off the chunky sides and get you as close to the pattern. The small cutter will help cut through the curves
and crevices.
Be careful here to avoid getting cuts. I wasn't so by the time I finished I got 3 or 4 mini cuts. I did this project for 2 nights after work and just wanted to finish to get some sleep.
Be careful here to avoid getting cuts. I wasn't so by the time I finished I got 3 or 4 mini cuts. I did this project for 2 nights after work and just wanted to finish to get some sleep.
I asked our helpers to paint the pieces with white acrylic
paint (which I bought at SM) to give it a clean finish. Two to three coats to cover the texture of
polystyrene. My helpers were so excited to do arts and crafts as well! Once dry, we painted it again with white glitter poster color and
sprinkled some more with white glitter while still wet.
Now for the face. Visual reference is important to get as
much details into the pattern. This photo was my reference - eyes up, the famous wide smile of Olaf.

I
used cream poster paint to shape the eyes (black will make him look like a rockstar) and black poster paint to make the
eyelids and iris. For the mouth I
painted the inside with silver/gray paint (white poster paint mixed with a little
black) and the corner of his mouth a lighter gray. When you look into the picture
reference, look closely into the shadows and other details (ex. Olaf's shadow on his teeth).
I used poster color because I'm very comfortable with this medium and in case you make a mistake, it's easy to wipe it off with wet clean cloth and touch up with white paint for a clean start again.


Table Centerpiece - Snowman and Frosted bottles
materials needed for frosted bottle:
empty wine bottles or maison bottles, washed and wiped dry
epsom salt. You can find a bag at a grocery store under beauty and health section since this is usually used as a body scrub. I got one at Landmark Trinoma.
1:2 ratio of glue and water
paint brush
What to do:
Brush the bottle with glue mixture making sure all parts you want frosted is covered. Roll the bottle with wet glue on espom salt and leave to dry completely. That's it :)

We frosted almost everything! It was so easy and fun to do :)

materials needed for snowman:
round polystyrene balls, 2 different shapes
1:2 ratio of glue and water
wide and deep container for the glue mixture
paint brush
white and silver glitters. We also used colored sand and found it better to use on the bottom ball because it adds weight and makes the decor stable. It's a little hard to manipulate, though, when wet.
cupcake liners for the hat (source: Chocolate Lover)
black craft paper for the eyes and mouth
toothpick to connect the head to the body
mini cake silver base for the base (source: Chocolate Lover)
double adhesive tapes
What to Do:
Same as the frosted bottle - brush glue mixture around the styro balls making sure all areas are covered.
Roll on a bed of glitters or colored sand. Let dry.
Once dry, connect the small and big ball using a toothpick and connect the body to the silver base with double adhesive tape. Decorate.

Happy DIY!
I used poster color because I'm very comfortable with this medium and in case you make a mistake, it's easy to wipe it off with wet clean cloth and touch up with white paint for a clean start again.
 |
| Olaf minus the 'eyelid' |
 |
| Olaf with eyelids and nose. Can you see the blue highlight to accent his cheeky smile? I used crayon on that. |
For the buttons on his body, I painted it with black poster paint and silver streaks as highlight.
Once paint is dry, I assembled the body parts and head using barbeque sticks cut into two and glue.
The nose was made of real carrot. I emptied the inside of the fresh carrot to make it lightweight and stuck it into the polystyrene board using bbq sticks and glue again.
For the hair and arms, I asked Sophie and her yaya to search the neighborhood for twigs.
So, that's how Olaf was made. I let him stand on a polystyrene board covered with epsom salt and glue for a snowy look.
A little side story, I did Olaf about 5 days before the party and the morning of Sophie's birthday we saw that the carrot became dry and wrinkly. I had to change the carrot nose the morning of the party which I really didn't mind. At least I got to practice how to do the nose days ahead.
Olaf on stage, making the kids happy to see him. We also did the same procedure of cut and paint on the standee letters. Really, this project saved me thousand and thousand of moolah.
Table Centerpiece - Snowman and Frosted bottles
materials needed for frosted bottle:
empty wine bottles or maison bottles, washed and wiped dry
epsom salt. You can find a bag at a grocery store under beauty and health section since this is usually used as a body scrub. I got one at Landmark Trinoma.
1:2 ratio of glue and water
paint brush
What to do:
Brush the bottle with glue mixture making sure all parts you want frosted is covered. Roll the bottle with wet glue on espom salt and leave to dry completely. That's it :)
round polystyrene balls, 2 different shapes
1:2 ratio of glue and water
wide and deep container for the glue mixture
paint brush
white and silver glitters. We also used colored sand and found it better to use on the bottom ball because it adds weight and makes the decor stable. It's a little hard to manipulate, though, when wet.
cupcake liners for the hat (source: Chocolate Lover)
black craft paper for the eyes and mouth
toothpick to connect the head to the body
mini cake silver base for the base (source: Chocolate Lover)
double adhesive tapes
What to Do:
Same as the frosted bottle - brush glue mixture around the styro balls making sure all areas are covered.
Roll on a bed of glitters or colored sand. Let dry.
Once dry, connect the small and big ball using a toothpick and connect the body to the silver base with double adhesive tape. Decorate.
Happy DIY!


